Editing a Layer
The most common scenario for creating a new Layer is when you use the data import process, which creates a default Layer based on the imported data source. You can then edit the colour visualisation (styles) and number ranges for the data, as appropriate.
Layers that derive from survey and other primary data sources and from merged sections are not editable.
A style or style rule defines the rule applied to data fields used to trigger the chosen style colour. If no style rules trigger for an item, the item will not be shown in the layer
To edit a Layer
-
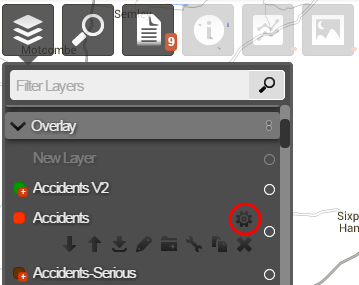
In Explorer, in the Layer drop-down, select the Layer to edit.
-
Click the Layer Options icon for the required Layer.
- Click the Edit Layer icon.
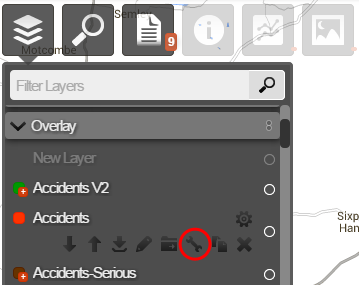
The Styles dialog opens.
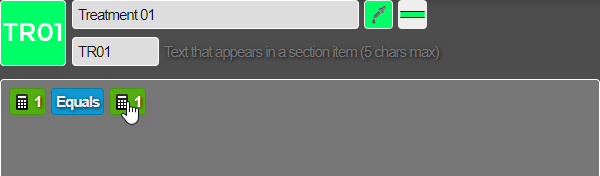
- Change the styling for the data visualisation, as required.

The data provided by the data source of the Layer are available to be selected for your formula. You select the required item(s) of data and use it in combination with values and operators to create the formula for the data style.
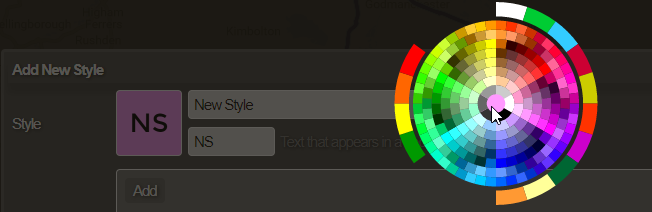
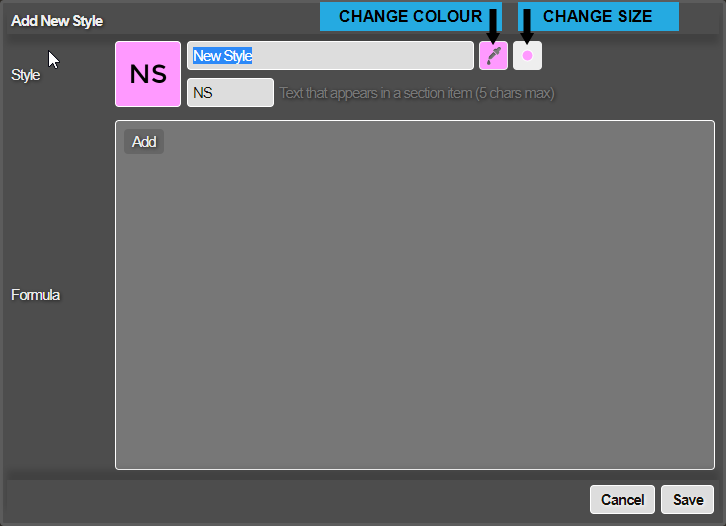
You can add a new style and associated formula for the data, if required. You can change the line colour and thickness and add a border.
Edit line appearance
You can change the point colour and size.
-
Click Done to save changes.
-
You can change the order of the Layer styles by clicking the up and down arrows.
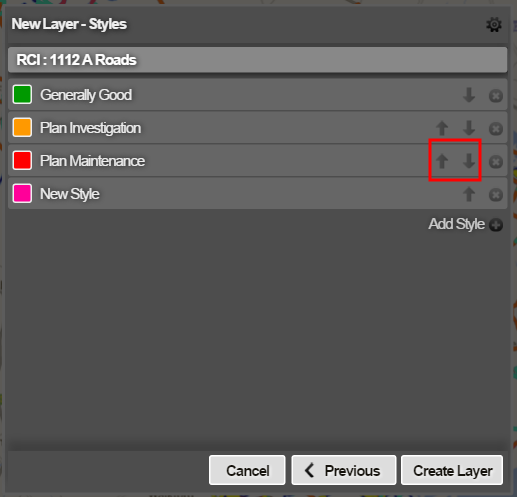
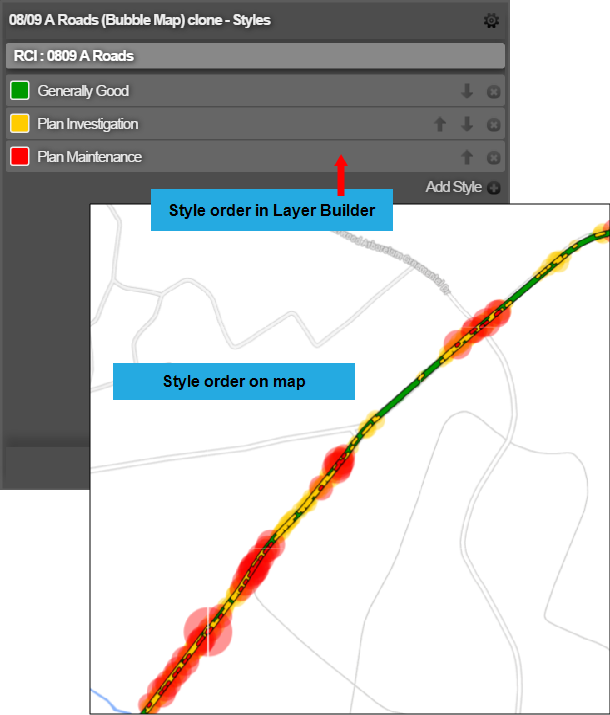
Layer styles are evaluated in the order you specify in this view.
The first style in the layer is evaluated before other styles. The last style in the layer is evaluated last and appears on top of other styles on the map.
- When you have edited the Layer to your requirements, click Save Layer.
The Layer’s new properties are saved. This operation may take a minute or two.