Creating a Data Layer from a Yotta Asset
You can create a new Layer based on an Yotta Asset data. For example, you can build a new Layer based on your Footway asset. See Data Import and Ownership.
The most common scenario for creating a new Layer is to use the data import process, which creates a default Layer based on an imported data source. Then you can edit the colour visualisation (styles) and number ranges for the data, as appropriate.
To create a Layer from an existing Yotta Asset
- In the Explorer Layers drop-down, click Add Layer.
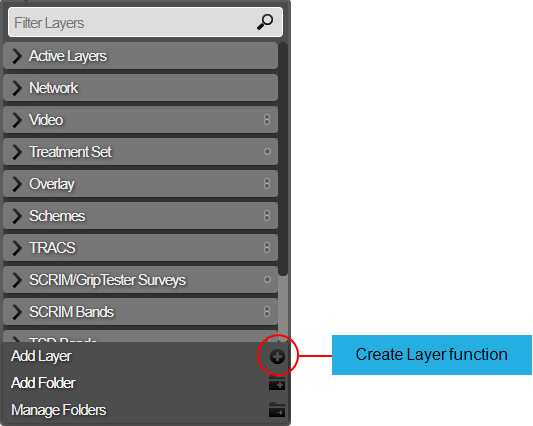
The Create Layer window opens.
- Enter the name of the new Layer.
A Layer name must be unique in Horizons.
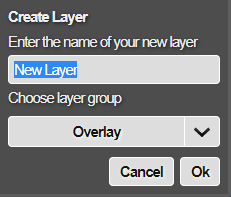
- In the Layer Group box, select the folder for the Layer, and click OK
The Layer Setup window opens. The data sources that are associated with your Network are available to base your Layer on..
- In the Layer Type section, click the Yotta Asset button.
The existing assets are listed.
- Choose the Feature Codes to base the Layer on.
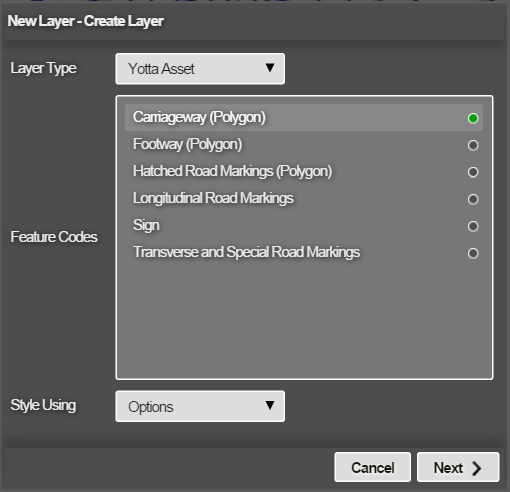
Base your new Layer on one of the following styles:
Options
This allows you to define a custom style for a new Layer by creating a formula based on attributes of the data and non-standard operators — see Defining Custom Styles for a New Data Layer.
Number Ranges
This allows you to define styles for data items with colour bands corresponding to numeric ranges — see Defining Styles for a Data Layer from Number Ranges.
Custom data
This allows you to define styles where data items are coloured or filtered depending on text or numbers in an item field option — see Defining Styles for a Data Layer from Text Matching Options.
Existing Layer
This allows you to define the style for a Layer based on an existing layer — see Defining Styles for a Data Layer from Text Matching Options.
- When you have added the required styles for the Layer, click Create Layer. The Layer is created and is available to view in the Layers drop-down in the folder that you selected. The Layer may take a minute or two to build fully. If User Access Control is enabled, the Layer is owned by you and is private until it is shared. You can share the Layer with other users. See Sharing a Layer.
If User Access Control is not enabled, a Layer that you create is visible to and editable by all users.