SCRIM Prioritisation Model
The SCRIM Prioritisation Model feature is accessed from the Parameter Editor for the SCRIM Difference parameter filter. The model provides you with a scoring matrix which allows you to generate a model that identifies sites on your network in need of more detailed investigation.
The SCRIM Prioritisation Model combines:
- The site categories
- Accident data
- Texture
- SCRIM Difference
It uses this to calculate a score for each carriageway subsection (which is assigned to a site category). These are mainly the CL1 lanes of A roads.
Highways England record SCRIM data for the CL1 and CL2 lanes of motorways and trunk roads, but they have not adopted the SCRIM Scoring Model.
The data is saved in an overlay from where layers can be generated. The overall score may be used within analysis.
Non-configurable parameters
The following parameters are used for calculations within the model but are not currently editable.
| SCRIM Difference | ||
| From | To | SCRIM Difference Score |
| > 0.00 | ≤ 100.00 | 0 |
| > -0.05 | ≤ 0.00 | 1 |
| > -0.10 | ≤ -0.05 | 3 |
| > -0.15 | ≤ -0.10 | 6 |
| -100.00 | -0.15 | 12 |
The Accident score for each site is calculated from the number of accidents:
| No. of Accidents | Accident Score |
| 0 | 0 |
| 1 | 4 |
| 2 | 8 |
| >2 | 12 |
Requirements for the model are:
- Full Coverage of Latest SCANNER Survey Data
- Full Coverage of Latest SCRIM Data
- Functional Thresholds
- 3 Years Accident Data
Creating a model
To create a SCRIM Prioritisation Model you need to access the Parameters drop-down in the Analysis module, see Defining a Condition Parameter.
- Select the SCRIM Difference parameter.
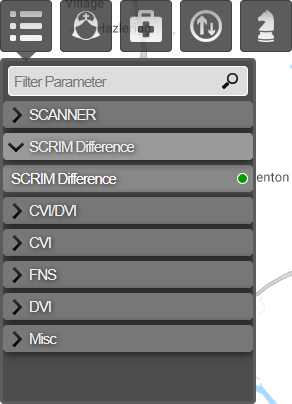
- The SCRIM Difference parameter is displayed in the Parameter Editor.
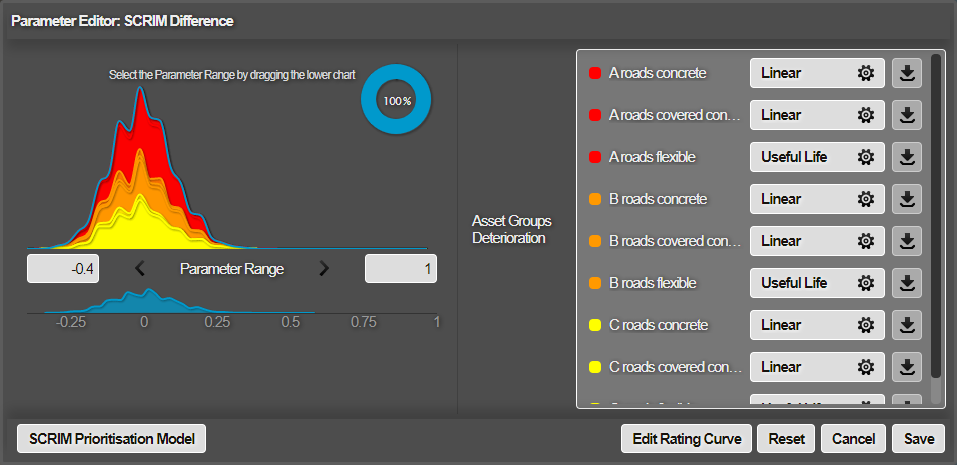
To define a standard deterioration curve use the procedure described in Define Deterioration Curve.
- Select the SCRIM Prioritisation Model button to create a scoring model. The dialog for this is displayed.
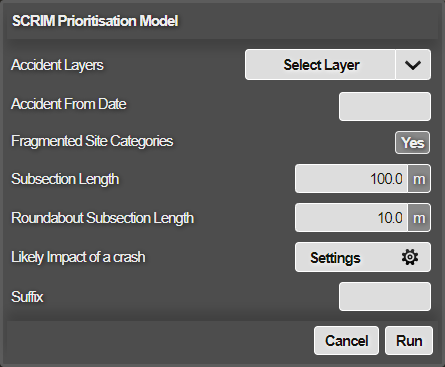
Complete the following fields to generate a model run:
Accident Layers
Default - None
To generate a model run, you must select an Accident layer. Select one from the drop down list.
When importing accident data as a layer, ensure the Date field is configured. Otherwise, the layer won’t appear in this drop down list.

Accident From Date
Default - 3 years before current date
This field displays the date of the earliest accidents to be included. When you select an Accident layer a date is calculated from the data for that layer. You can manually select a date, when you click on the field a calendar appears.
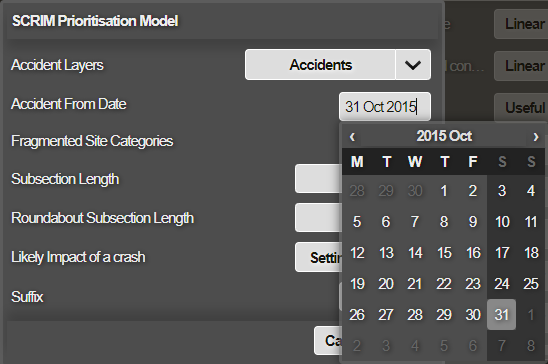
Fragmented Site Categories
Default - Yes
When set, the model will re-sample the SCRIM site categories to a specified sub-section length (breaking at change of site category code or site investigatory level (SIL)).
Subsection Length
Default - 100m
The subsection length into which the data should be fragmented. If the Fragmented Categories option is set to Yes, then each site extracted from the functional threshold table is fragmented into lengths defined by the Subsection and Roundabout Subsection Length. Short lengths (< 50% of the Subsection or Roundabout Subsection Length accordingly are merged into their preceding length. For example, a site of 82m with a Subsection of 20m is fragmented 0-20m; 20-40m; 40-60m, 60-82m (not 60-80m, 80-82m).
Roundabout Subsection Length
Default - 10m
The subsection length for roundabouts into which the database should be fragmented. The same rules are applied as for the Subsection Length.
Likely Impact of a crash
Default - None This allows you to display and configure the Likely impact value for Site Category Codes. These settings are associated with Accident layer that you select and the actual Site Category Codes that appear are configured within the data import for the Accident layer.

Suffix
Default - None
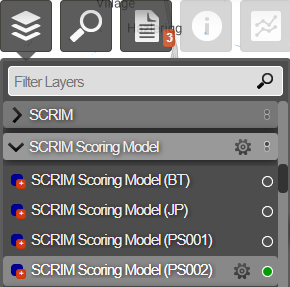
This allows you to enter a suffix up to 5 alphanumeric characters, uniquely identifying the SCRIM Scoring Model you are going to create. If another run with the same suffix is done, the overlay generated by the previous run is overwritten. When the model has completed successfully it is listed in the SCRIM Scoring Model layer folder.
- When you have completed the configuration select Run. A notice appears to indicate that the model is being generated.
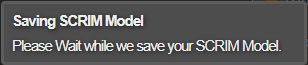
This does not indicate that the model will complete successfully. You will receive an email notification that indicates whether the model was generated successfully.
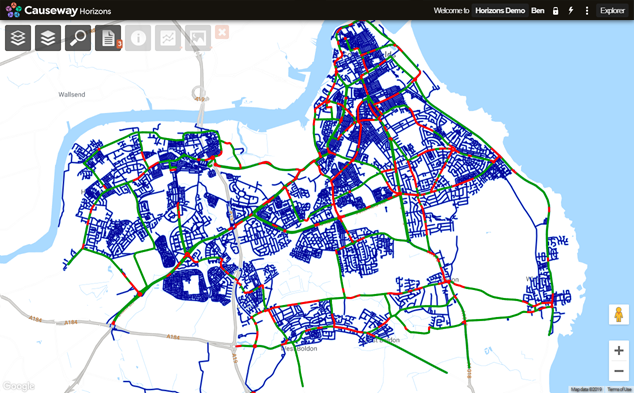
When the SCRIM Scoring Model layer has been created you configure the layer styles within the layer to display the data as required. The example below display the default style colours.