Options Layer Styles
Defining a Layer Style from Text Matching Options
You can create one or more styles for a Data Layer or Yotta Asset Layer that check if specific text values are present in the data for each subsection of your Network assets. When the Layer is active, each subsection will be coloured according to the last style that triggered on it.
To create a Layer with Options styles:
-
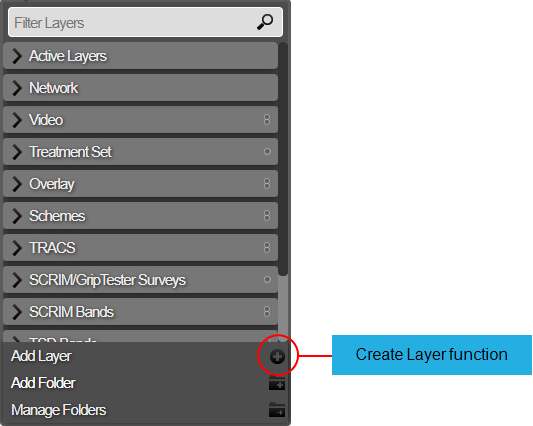
Select the top Layers icon. In the dropdown, select Add Layer.
-
Enter a unique name for the new Layer, based on the data it will represent. Choose the Layer Group folder it will belong to. Select OK to continue.

-
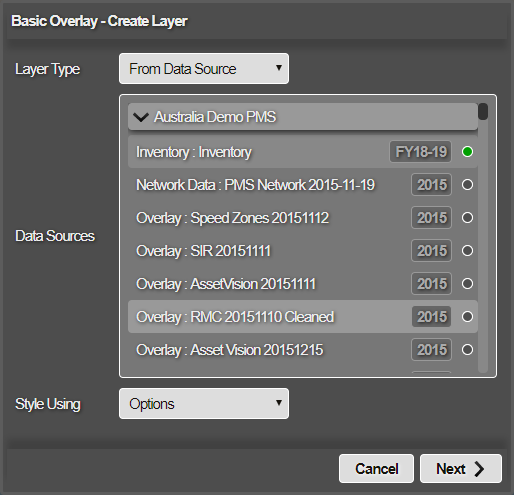
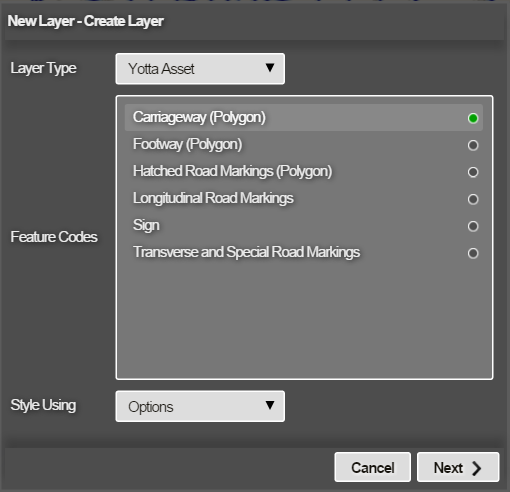
In the Create Layer window, select the Layer Type box and choose one of the following:
From Data Source
Proceed to choose the relevant data source in the list. To add a new data source, see Data Import.
Yotta Asset
Proceed to select one or more Feature Codes in the list to base the new Layer on.
-
Select the Style Using box, choose Options and then select Next.
-
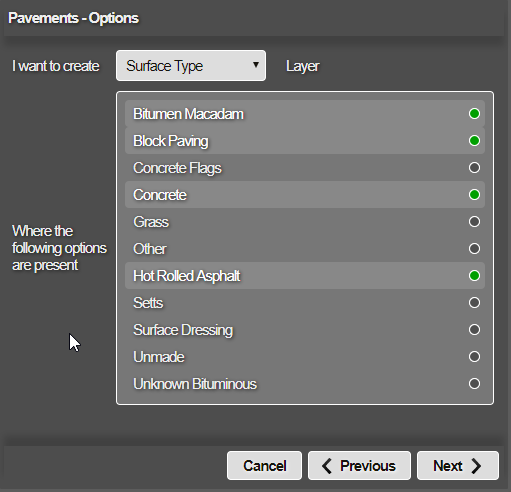
In the Options window, select the top box and choose a type. The available types correspond to the column headers in your chosen data source or Yotta Asset. Select one or more of the available options in the list.
-
Repeat the above step as many times as needed. Select Next to continue.
-
The Styles window lists the generated styles. Use the up and down arrows to reorder them as needed (the first style is evaluated first). To change the appearance or formula of a style before finishing, select it. See Edit a style.
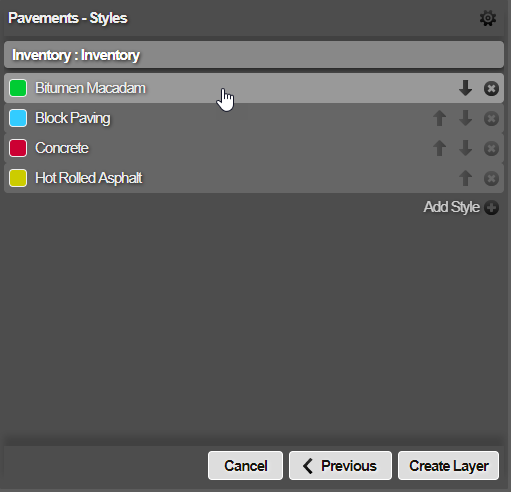
-
Select Create Layer to finish.