Custom Layer Styles
Defining a Custom Layer Style
You can create one or more styles for a Layer that check if the data for each subsection of your Network assets satisfies a custom formula. Build your formula out of blocks representing data elements and operators. When the Layer is active, each subsection will be coloured according to the last style that triggered on it.
To add a Custom style to a Layer:
-
Do one of the following:
Create a new Layer
- Select the top Layers icon. In the dropdown, select Add Layer.
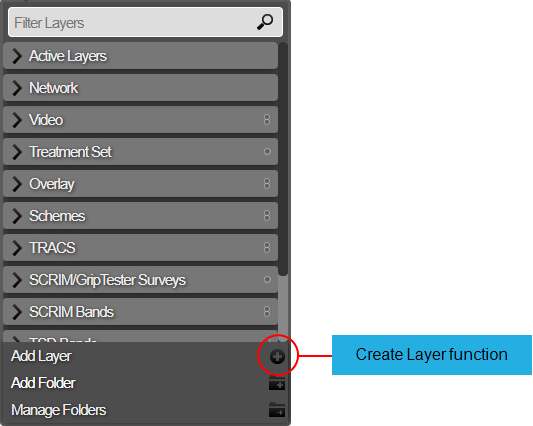
- Enter a unique name for the new Layer, based on the data it will represent. Choose the Layer Group folder it will belong to. Select OK to continue.

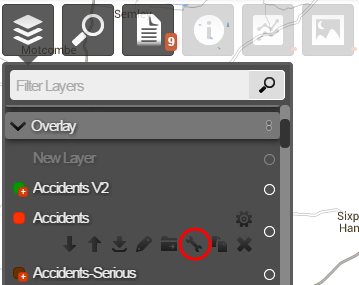
Open an existing Layer
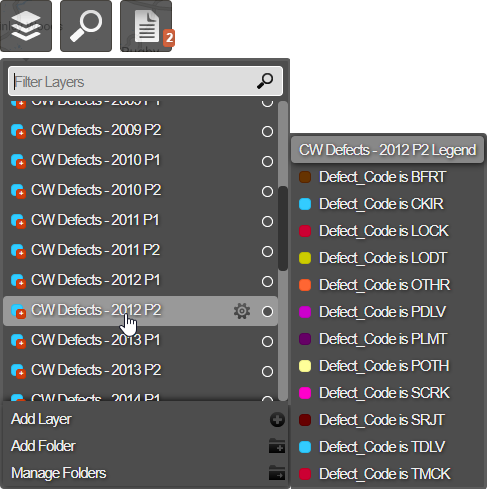
- Select the top Layers icon. In the dropdown, open the folder containing the relevant Layer.

- Hover over the Layer, select its Options icon, and then select the Edit Layer icon that appears below it.
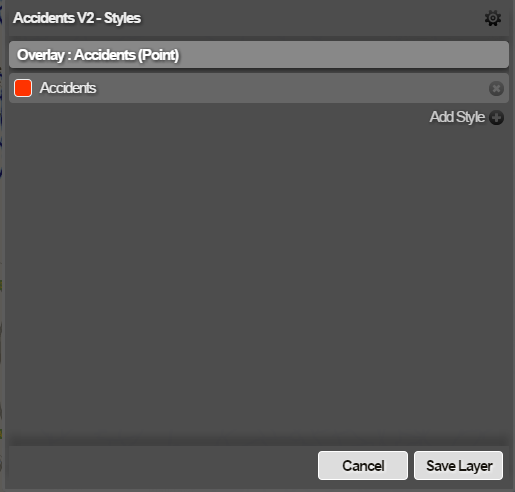
- In the Styles window, select Add Style.
-
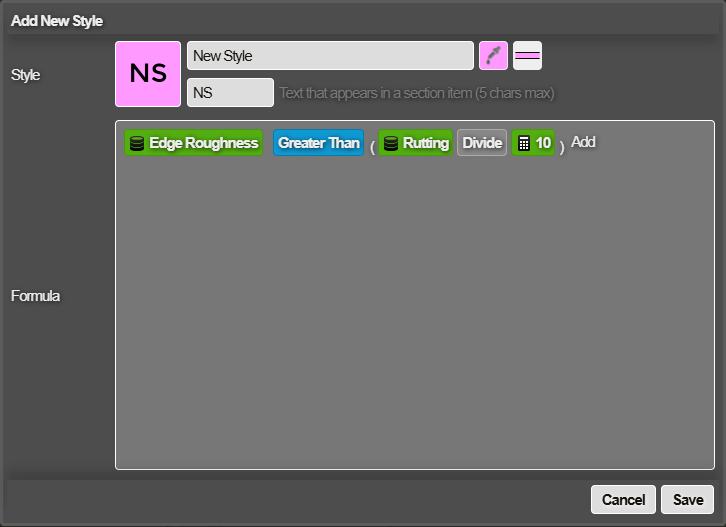
In the Add New Style window, enter a name for the style in the top box.
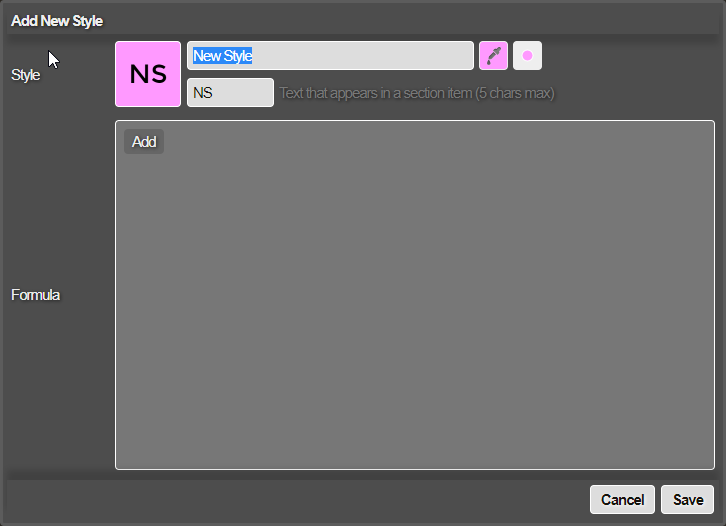
When you hover over a Layer in the Layers dropdown, the names and colours of its styles are displayed in a pop-up legend. Therefore, the name should provide a helpful description of the data for the style.
-
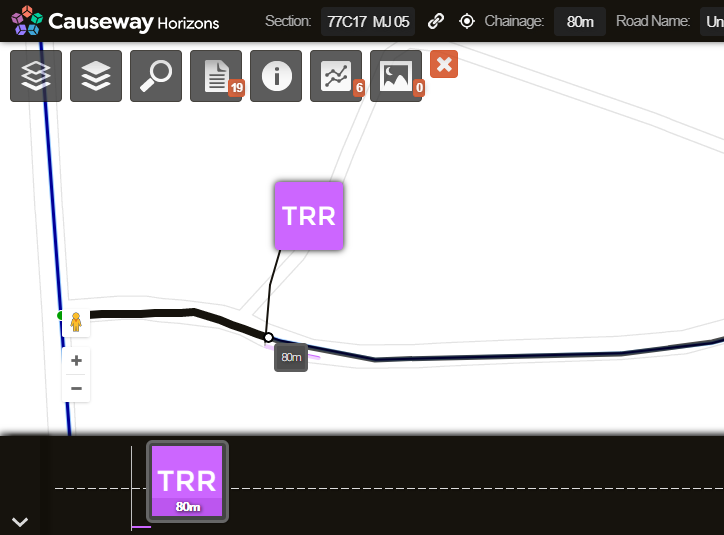
In the second text box, enter a short code abbreviation for the style. Enter up to 5 alphanumeric characters. If you place a space between each character, they will be displayed in vertical alignment.
Short codes are displayed when there isn't enough room for the style's full name, e.g. displaying data items related to a Section.
-
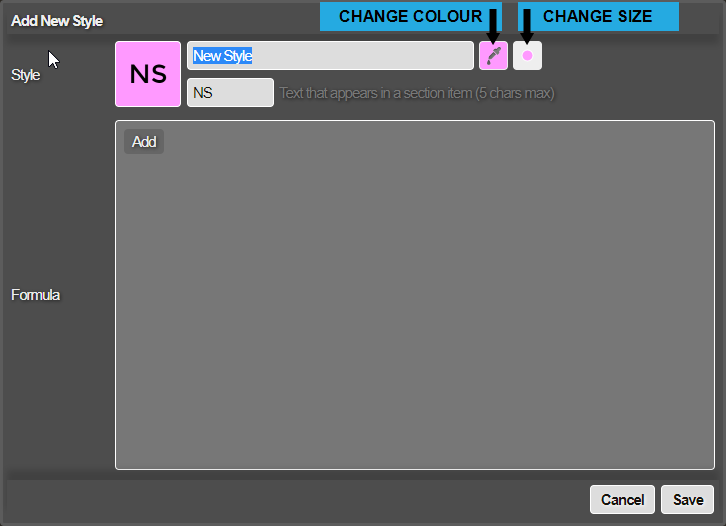
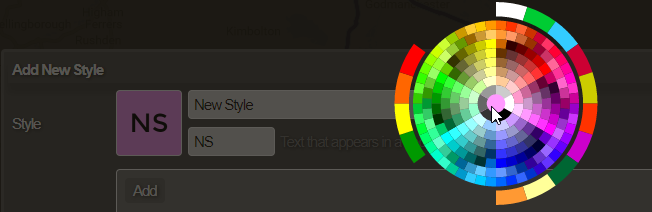
To change the style's appearance, select the Change Colour icon beside the text box, and then choose a new colour from the wheel. To change the style's size, select the Change Size icon to switch between Large and Small (for point data) or Thick and Thin (for line data).
-
Define the style's formula in the Formula box. You can build the formula using the available data elements and operator building blocks to create a logical statement. You can also use non-standard operators in a custom formula.
In the Formula box, select Add. Choose an operator in the list and select Save.
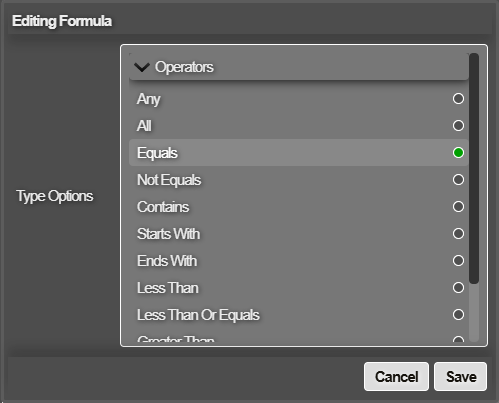
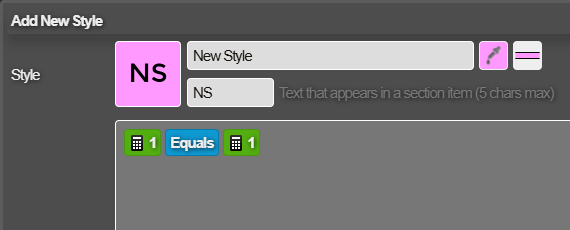
The chosen operator will appear in the Formula box, along with the necessary elements (green calculator icons) to complete the formula.
-
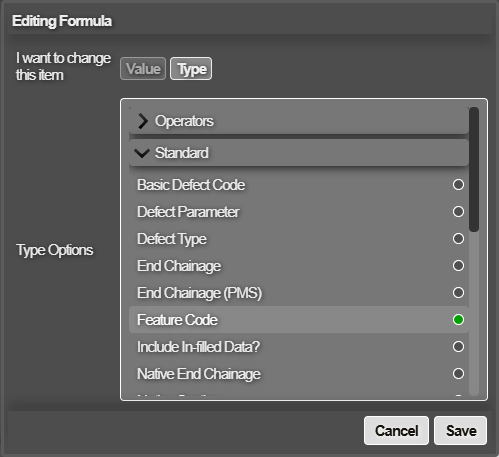
To configure each green element, select it and then choose one of the following:
-
Value - enter a valid number or text value as appropriate, or choose a value from the list if any are available (based on the Layer's data source).
-
Type:
-
Operators - to create a bracketed expression within the formula, choose another operator from the list. This can be done with any green element, allowing for the definition of complex formulas.

-
Standard - choose a standardised parameter from the list.
-
Observations / Project - choose an available parameter from the Layer's data source.
-
Select Save to continue.
-
-
Select Save to create the new style.
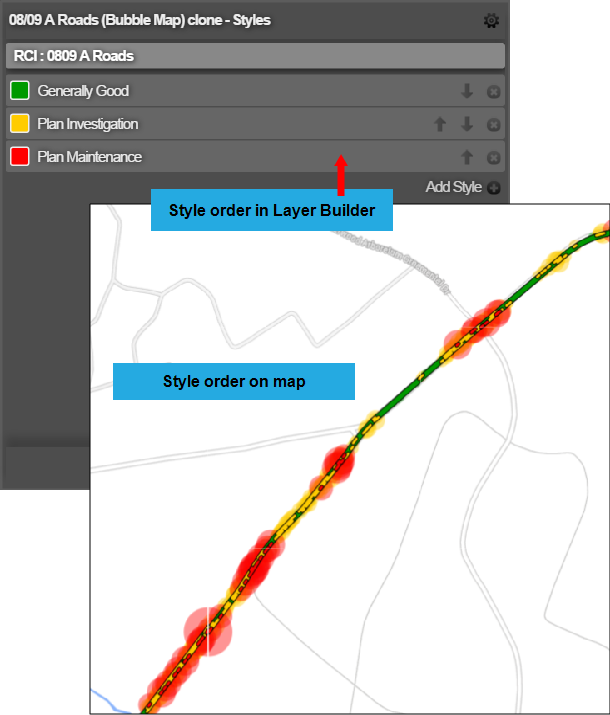
Reorder styles
To change the order of the Layer's styles, select their up and down arrows.
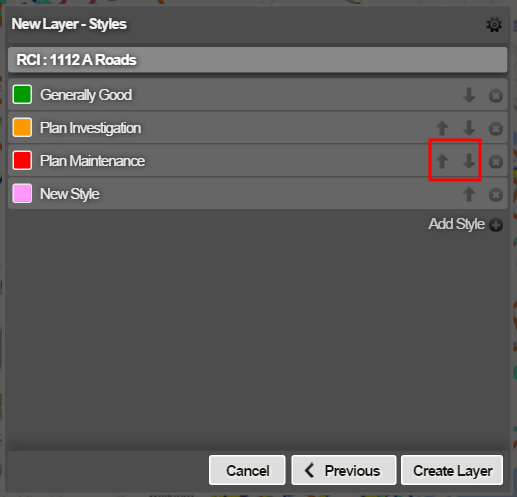
Styles are evaluated in the order you specify here. The first style is evaluated before the other styles. The last style is evaluated after the others and appears on top of them when displayed on the map.